Integrations: Difference between revisions
From Fishbowl Drive
m (Mostly punctuation changes.) |
(I removed several integrations that are no longer available in the Integrations module.) |
||
| (3 intermediate revisions by one other user not shown) | |||
| Line 1: | Line 1: | ||
The '''Integrations''' module allows Fishbowl Drive to integrate with many other platforms. Note that some of these integrations are in '''Beta'''. | The '''Integrations''' module allows Fishbowl Drive to integrate with many other platforms. Note that some of these integrations are in '''Beta'''. | ||
__TOC__ | __TOC__ | ||
[[File:FBO Integrations 1.png| | [[File:FBO Integrations 1.png|600px]] | ||
==QuickBooks Online== | ==QuickBooks Online== | ||
# To connect to QuickBooks Online, click the '''Connect''' button and approve the integration with your QuickBooks Online account.<br>{{Image|Connect|QuickBooks Online}} | # To connect to QuickBooks Online, click the '''Connect''' button and approve the integration with your QuickBooks Online account.<br>{{Image|Connect|QuickBooks Online}} | ||
# After completing the integration, the [[QuickBooks Online| | # After completing the integration, the [[QuickBooks Online]] module will be added to the '''Accounting''' module group. | ||
{{DS}} | |||
==Xero== | |||
# To connect to Xero, click the '''Connect''' button and approve the integration with your Xero account.<br>{{Image|Connect|Xero}} | |||
# After completing the integration, the [[Xero]] module will be added to the '''Accounting''' module group. | |||
{{DS}} | {{DS}} | ||
| Line 30: | Line 35: | ||
# {{E-Commerce Settings|Shopify}} | # {{E-Commerce Settings|Shopify}} | ||
# Additional explanations for the Shopify settings in Fishbowl Drive are available in [https://www.fishbowlhelp.com/files/FBO/Shopify%20Settings.pdf this PDF]. | # Additional explanations for the Shopify settings in Fishbowl Drive are available in [https://www.fishbowlhelp.com/files/FBO/Shopify%20Settings.pdf this PDF]. | ||
{{DS}} | {{DS}} | ||
Latest revision as of 13:23, 11 December 2023
The Integrations module allows Fishbowl Drive to integrate with many other platforms. Note that some of these integrations are in Beta.

QuickBooks Online
- To connect to QuickBooks Online, click the Connect button and approve the integration with your QuickBooks Online account.
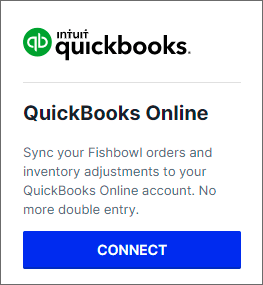
- After completing the integration, the QuickBooks Online module will be added to the Accounting module group.

Xero
- To connect to Xero, click the Connect button and approve the integration with your Xero account.
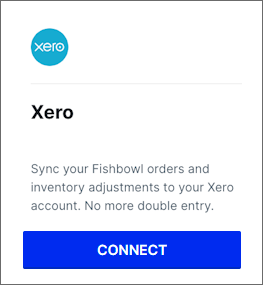
- After completing the integration, the Xero module will be added to the Accounting module group.

Shippo
- To connect to Shippo, click the Connect button.
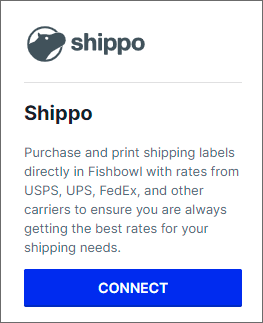
- Log in with your Shippo account, and click Allow Access.
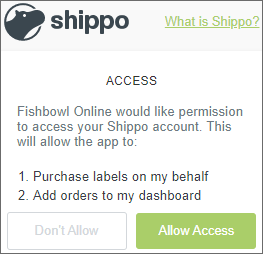
- Proceed through the wizard to configure the Shippo settings, and then click Finish.
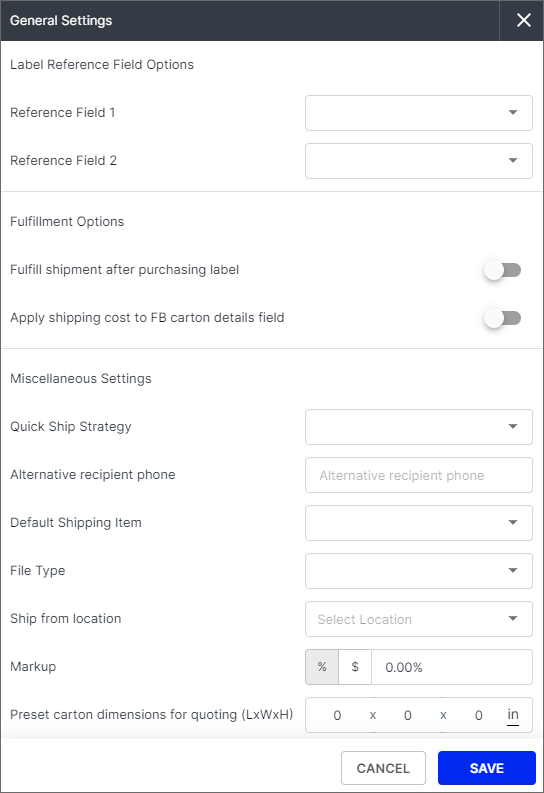
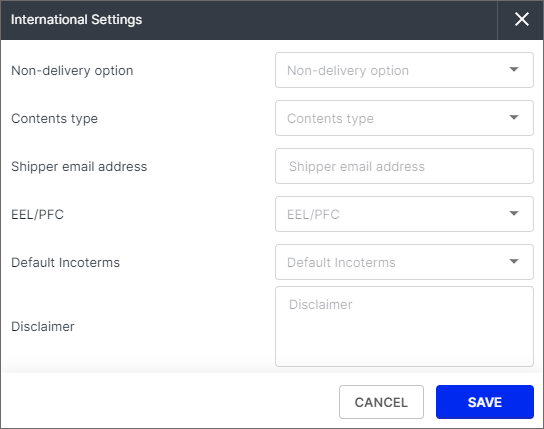
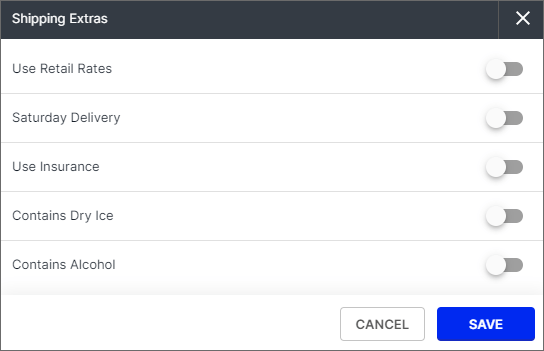
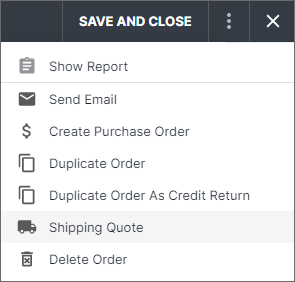
- Sales orders will now have the option to generate a shipping quote.
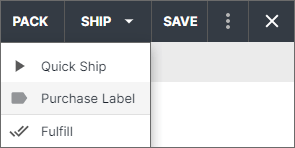
- Shipments will have the option to purchase a label.


ShipStation
- To connect to ShipStation, click the Connect button.
- Log into your ShipStation account, and copy the following information into Fishbowl Drive.
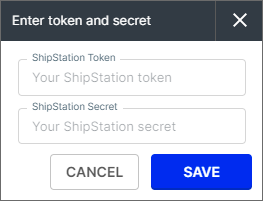
- Click the Save button.


Shopify
- To connect to Shopify, click the Connect button.
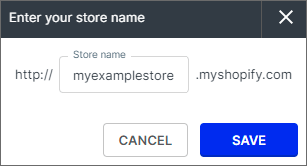
- Enter your Shopify store name to complete the URL, and then click the SAVE button.
- You will be redirected to Shopify's website to log into your account.
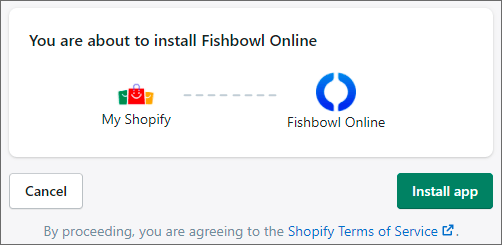
- Click the Install App button.
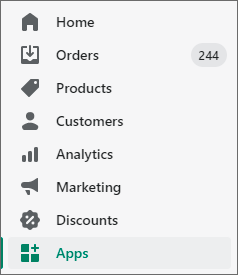
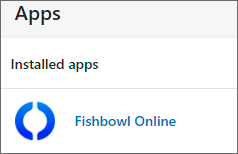
- In your Shopify account, click the Apps button in the side menu and you should see Fishbowl Drive listed as an installed app.
- The settings for the Shopify integration will now be available in Fishbowl Drive by clicking Integrations > E-commerce > Shopify.

- Additional explanations for the Shopify settings in Fishbowl Drive are available in this PDF.


Stripe
- To connect to Stripe, click the Connect button.
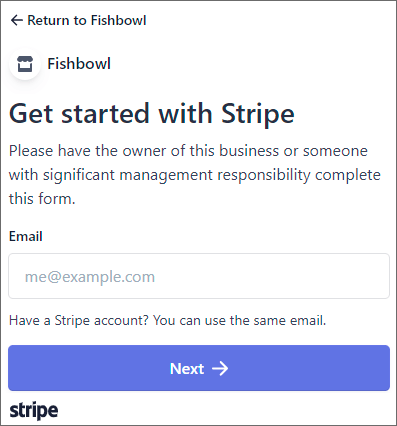
- You will be redirected to Stripe's website to log into your account or to create a new account.
- After completing the required steps on Stripe's website, you will be redirected back to Fishbowl Drive. You can now generate Pay Now links that can be displayed on reports and emailed to customers.

