QuickBooks Desktop
From Fishbowl Drive

- To complete the one-time setup process with QuickBooks Desktop, click here for instructions.
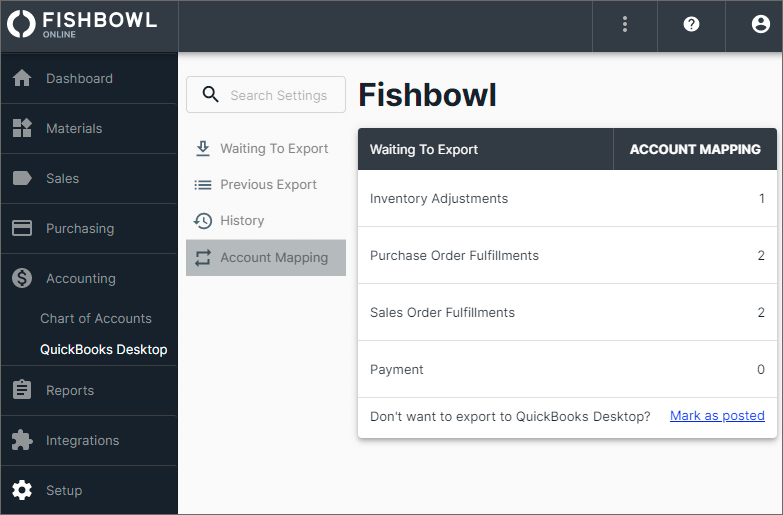
- After completing the integration, the QuickBooks Desktop module will be added to the Accounting group.
- The QuickBooks Desktop module will display the transactions that are ready to export to QuickBooks Desktop as well as a history of previous exports.
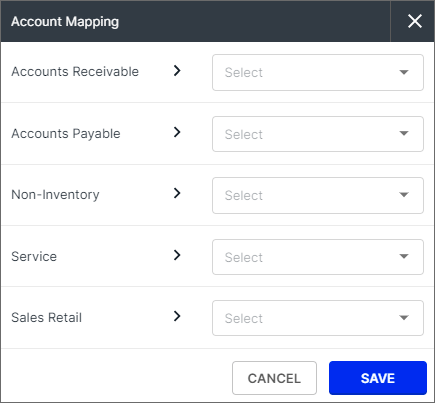
- To select the QuickBooks Desktop accounts used by Fishbowl Online, click Account Mapping.
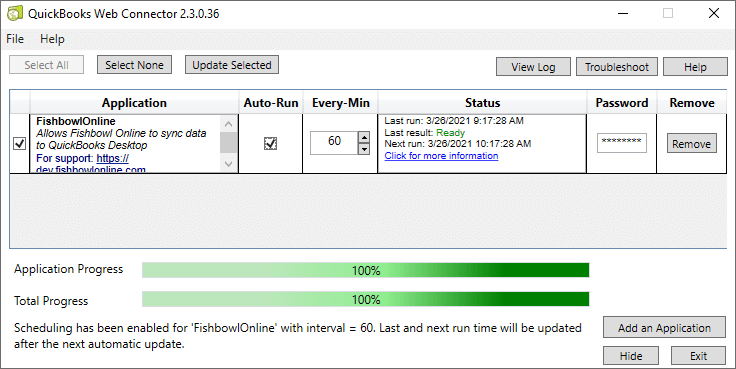
- To export the current transactions, open QuickBooks Desktop and click the File menu > Update Web Services > Update Selected
- To automatically export the current transactions, open QuickBooks Desktop and configure the update to Auto-Run.
- If the current transactions are Marked as posted, they will not be exported to QuickBooks Desktop. This should only be done after consulting with an accountant.
Setup
When connecting Fishbowl Online to QuickBooks Desktop, some of the actions need to be initiated from within QuickBooks Desktop. Once setup is complete, QuickBooks Desktop can be configured to automatically synchronize data with Fishbowl Online. To complete the one-time setup process with QuickBooks Desktop, follow the instructions below.
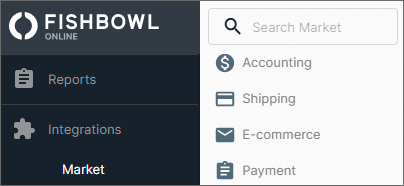
- Click the Integrations group in Fishbowl Online and then select Market.
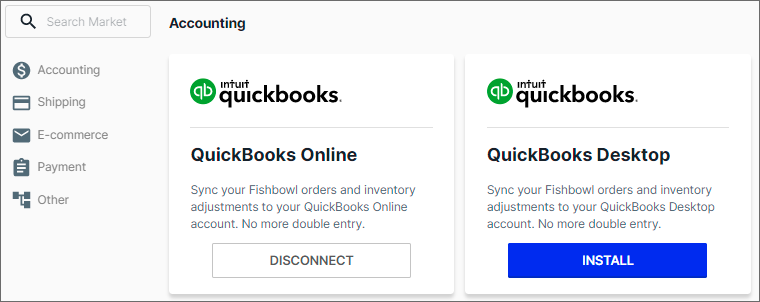
- Click the blue INSTALL button to download the QuickBooks Desktop configuration file.
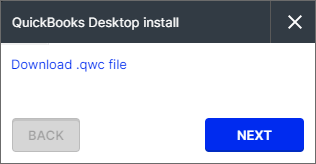
- In the window that opens, click the blue link to download the .qwc file.
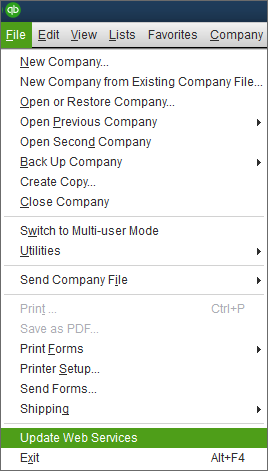
- Open QuickBooks Desktop, click the File menu, and then select Update Web Services.
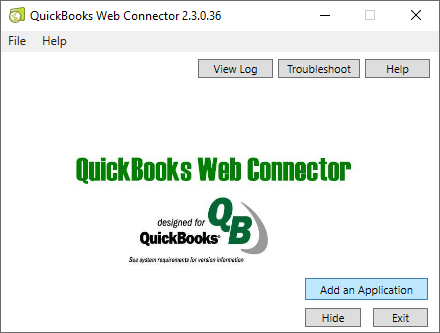
- In the window that opens, click Add an Application.
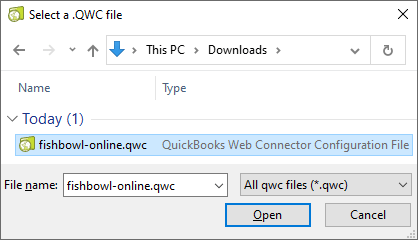
- Select the .qwc file that was downloaded previously and then click Open.
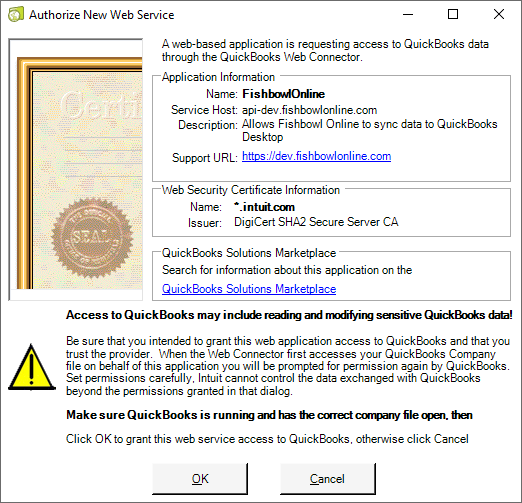
- Click OK to authorize the web service.
- In the next window, select Yes, whenever this QuickBooks company file is open and then click Continue.
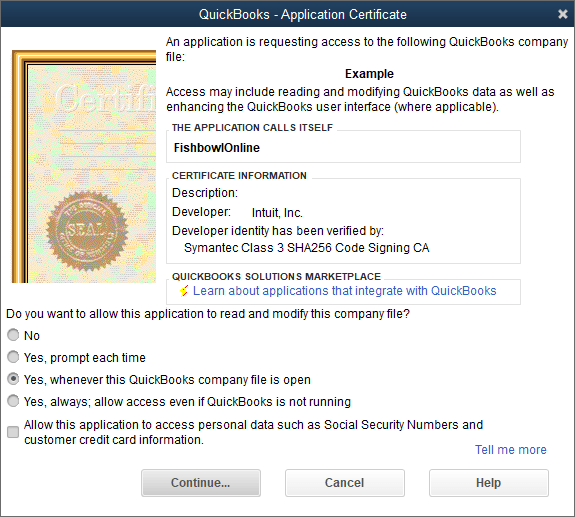
- Click Done to confirm.

- Click the checkbox on the left side of FishbowlOnline and then enter your Fishbowl Online password.
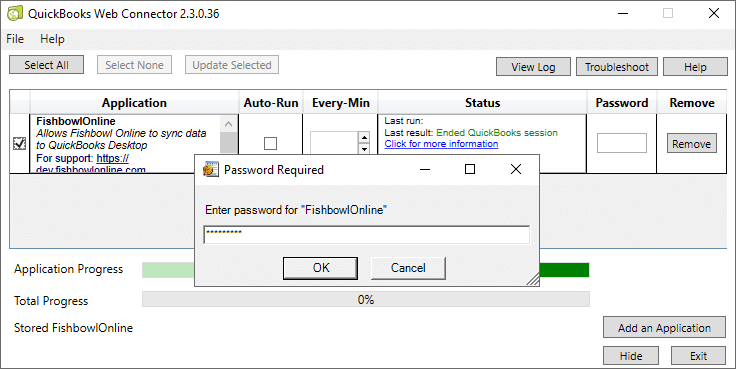
- Click Yes to save the password.
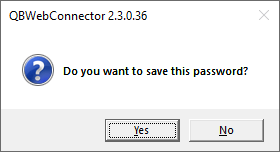
- Next, click the Update Selected button near the top of the window.
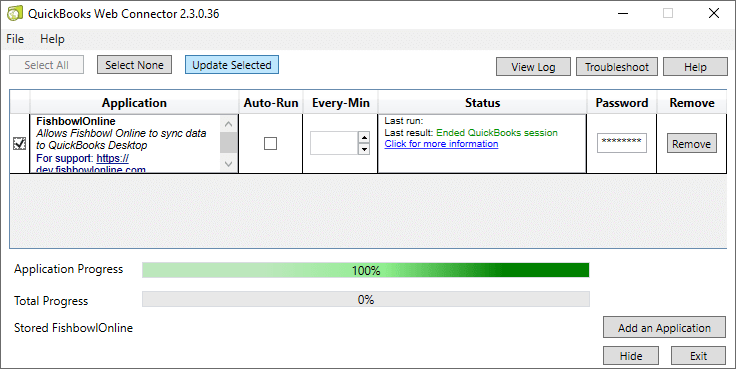
- Now open Fishbowl Online, click the Accounting group, select QuickBooks Desktop, and click Account Mapping.
- For each account in Fishbowl Online, select the corresponding account in QuickBooks Desktop and then click SAVE.
- You have completed the one-time setup process! Now, each time you would like to sync data between Fishbowl Online and QuickBooks Desktop, just open QuickBooks Desktop, select the Fishbowl Online web service, and click Update Selected. To automatically sync data, select Auto Run and then choose a time interval.