Legacy Gateways
This documentation is for legacy payment gateways. For the latest information, please see the ![]() Payment Gateway module.
Payment Gateway module.
Authorize.Net (Legacy)
Follow the steps below to connect Fishbowl to Authorize.Net.
- The Authorize.Net gateway is disabled by default. It can be re-enabled by contacting Fishbowl Support.
- Click the following link to sign up for Authorize.Net.
- Open the
 Payment Gateway module, located in the
  Integrations group , and click the large Authorize.Net button.
 - Enter the required information, which can be obtained by clicking the Get Connection Ticket link or by contacting Authorize.Net.
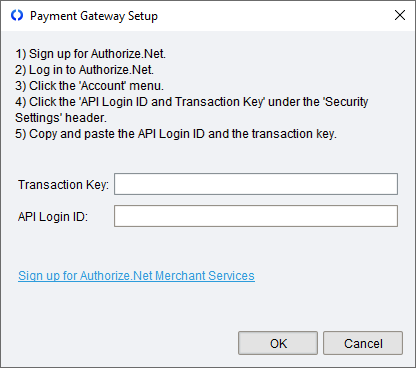
- Click OK to complete the integration. Credit card payments in Fishbowl will now be processed using the Authorize.Net gateway.
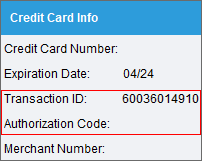
- If payments are missing the Authorization Code, further action may be needed on the Authorize.Net account. For example, if the Authorize.Net security settings are set to a high level, you may receive emails asking you to approve the transaction from inside Authorize.Net.
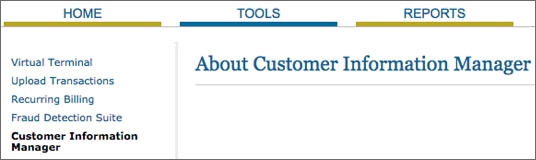
- To use wallet storage, log into Authorize.Net and enable the Customer Information Manager under the Tools menu, and then enable wallets in Fishbowl.
Authorize.Net also allows E-checks to be used for payment and stored in the wallet.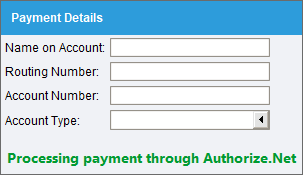


Authorize.Net Emulator (Legacy)
An Authorize.Net emulator uses the Authorize.Net protocol to process credit cards through a payment gateway. There are several providers that support Authorize.Net emulation, such as WorldPay.
Follow the steps below to connect Fishbowl to an Authorize.Net emulator.
- The Authorize.Net Emulator gateway is disabled by default. It can be re-enabled by contacting Fishbowl Support.
- Open the Payment Gateway module, located in the Integrations group , and click the large button below Authorize.Net Emulator.
- Enter the required information that can be obtained from the provider.

- Click OK to complete the integration. Credit card payments in Fishbowl will now be processed using the selected provider.

Clover Connect (Legacy)
Follow the steps below to connect Fishbowl to Clover Connect (previously called CardConnect).
- The Clover Connect gateway is disabled by default. It can be re-enabled by contacting Fishbowl Support.
- Click the following link to sign up for Clover Connect.
- Open the Payment Gateway module, located in the Integrations group , and click the large Clover Connect button.
- Enter the Merchant ID provided by Clover Connect.
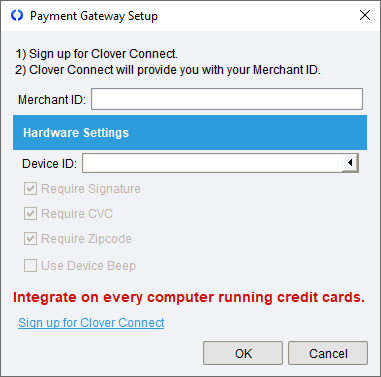
- Select a Device ID and customize the hardware options.
- Click OK.
- Repeat these steps on each computer that will be running credit cards. Note that a different Merchant ID or Device ID can be set on each computer.
- To process payments in
 Fishbowl Checkout, complete these integration steps in the Fishbowl Client on each computer that uses Fishbowl Checkout.
 - Credit card payments in Fishbowl will now be processed using Clover Connect.
- To use wallet storage, enable wallets in Fishbowl.

Intuit Payments (Legacy)
Follow the steps below to connect Fishbowl to Intuit QuickBooks Payments.
- The Intuit Payments gateway is disabled by default. It can be re-enabled by contacting Fishbowl Support.
- Sign up for QuickBooks Payments.
- Open the Payment Gateway module, located in the Integrations group , and click the large QuickBooks Payments button.
- Click the large Connect button and log into your Intuit account.
- If necessary, click the Setup link. Then click the Next button at the bottom and complete the wizard.

- Credit card payments in Fishbowl will now be processed using Intuit QuickBooks Payments.
- To use wallet storage, enable wallets in Fishbowl.

Square (Legacy)
Follow the steps below to connect Fishbowl to Square. Note: The Square website does not support Internet Explorer. Please update your browser before completing these steps.
- The Square gateway is disabled by default. It can be re-enabled by contacting Fishbowl Support.
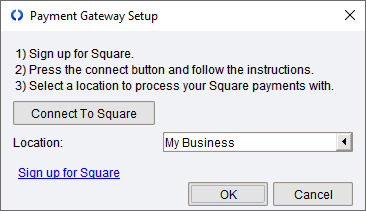
- Click the following link to sign up for Square.
- Open the Payment Gateway module, located in the Integrations group , and click the large Square button.
- Click the Connect To Square button.
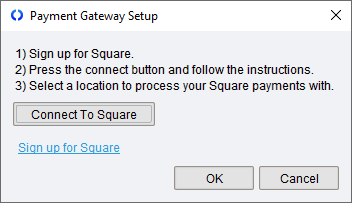
- A browser window will open. After logging into your Square account, you will be asked to allow the integration.
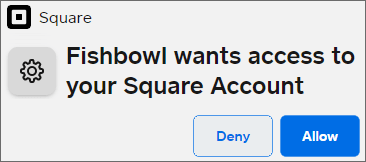
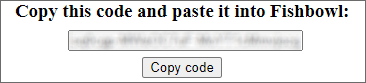
- In the browser window, click the Allow button and then click the Copy code button.
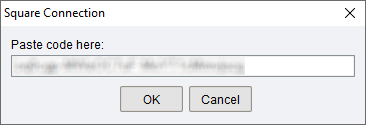
- Paste the code into Fishbowl and click OK.
- Select your Square location and then click OK.
- Credit card payments in Fishbowl will now be processed using Square.


Wallets (Legacy)
Authorize.Net, Clover Connect, and Intuit Payments allow a credit card to be reused without entering the credit card number every time.
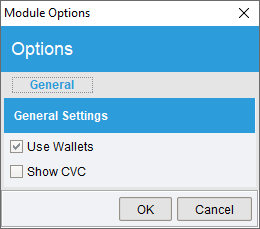
- To allow a credit card to be reused without entering the credit card number every time, open the Payment Gateway module, click the Tools menu, select Module Options, and then enable wallets.
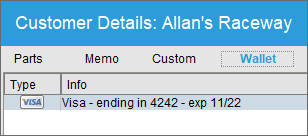
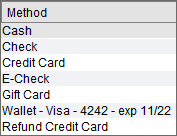
- If wallets are enabled, the customer's previously used credit cards will be listed as a payment method.
- The payment methods stored in a customer's wallet can be viewed on the Wallet tab of the
 Customer module. To view the Wallet tab, a user must have the Customer-Wallet access right.