Reports
The Reports module displays many reports that can be customized and exported. Below is a general description of some common report options, followed by a list of reports.

Presets and options in all reports
In every report, you have the ability to customize it and then save your preferred settings by creating presets. Plus, there are several options or tools above each report that allow you to adjust it, print it, email it, and more. We will explain how to do those things in the following sections.
How to create a new preset
To save a revised report’s settings for easy access in the future, click the CREATE NEW PRESET button on the top-right of the window. A popup will appear asking for just one thing: Preset Name. Add any name you like. For example, it can be the name of some of the settings the report includes. Then click the SAVE button. You can either do this before you begin making changes to the report, or you can do it at the end. If you want to make additional changes to the report, click the UPDATE button. The CREATE NEW PRESET button changes to UPDATE when you’re in a report preset.
Additional presets
To create another report preset, first click the X to the right of the dropdown menu containing the name of the current preset. Then you can go through the same steps above to create a new preset.
The first report preset you create will automatically be the default. Once it’s saved, there will be a Default checkbox option above the UPDATE button.
If this isn’t the first time you’ve opened a report, and you previously created at least one preset, you will see the default report preset first thing. And you will be able to see all of the report presets you have saved listed in the dropdown menu on the top-right.
To set a new default report preset, click the Default checkbox in it and click the UPDATE button. If you uncheck the Default checkbox on the default report preset and click the UPDATE button, you’ll receive an error message. That’s because there usually has to be a default. However, if you delete the default report preset, there won’t be a default report, and it will show the original default options when you click the Show Report option under the  More button in an individual receipt. That is, until you select a report preset as the default or create a new one.
To delete a report preset, first click the trashcan icon next to the UPDATE button. Then click the red DELETE button in the message that pops up.
Once you save a preset as the Default and then leave and return to the report, that preset’s settings will show up automatically.
Report options
The following buttons are at the top of each report to enable you to make adjustments and send the report to other people. Tooltips appear when you mouse over these buttons for a couple seconds. They succinctly explain what each one does.
- Zoom Out - This makes the text in the report appear smaller.
- Reset - This restores the report to its original size.
- Zoom In - This makes the text in the report appear larger.
- Next Page - If the report has multiple pages, this button enables you to move to the next page.
- Previous Page - If the report has multiple pages, this button enables you to move to the previous page.
- Download XLSX File - This enables you to download the report into an XLSX file, which you can open in Excel.
- Download PDF - This enables you to download the report into a PDF, which you can open with Adobe Acrobat.
- Print Report - This enables you to print a hard copy of the report.
- E-mail Report - This enables you to email the report to as many recipients as you like. It opens a popup where you can add email addresses in the To, Cc, and Bcc textboxes. Then you can add a subject and message. Click the SEND button to send the email with the report as a PDF attachment. If the recipient doesn’t receive the email in their inbox, they will need to check their junk folder and add fishbowl@fishbowlonline.com to their address book so that future emails aren’t marked as spam.
- Expand - This expands the report to the full size of your browser window. When you click this button, it changes to a Contract button, which you can click to return the report to its previous smaller size.
List of reports in Fishbowl Drive
Below is a list of the included reports in alphabetical order. Click the report to see more details.
Barcode Report
This report generates barcodes for your items.
Customer History Report
This report shows details on sales by customer.
Cycle Count Report
This report generates a list of items to check their quantities on the shelves.
Inventory Availability Report
This report displays the following inventory quantities: On Hand, Allocated, Not Available, Drop Ship, Available, Incoming, Committed, and Short.
Inventory Event History Report
This report lists when new items were received into your inventory or rejected.
Inventory On Hand Report
This report shows how many items are in stock by location.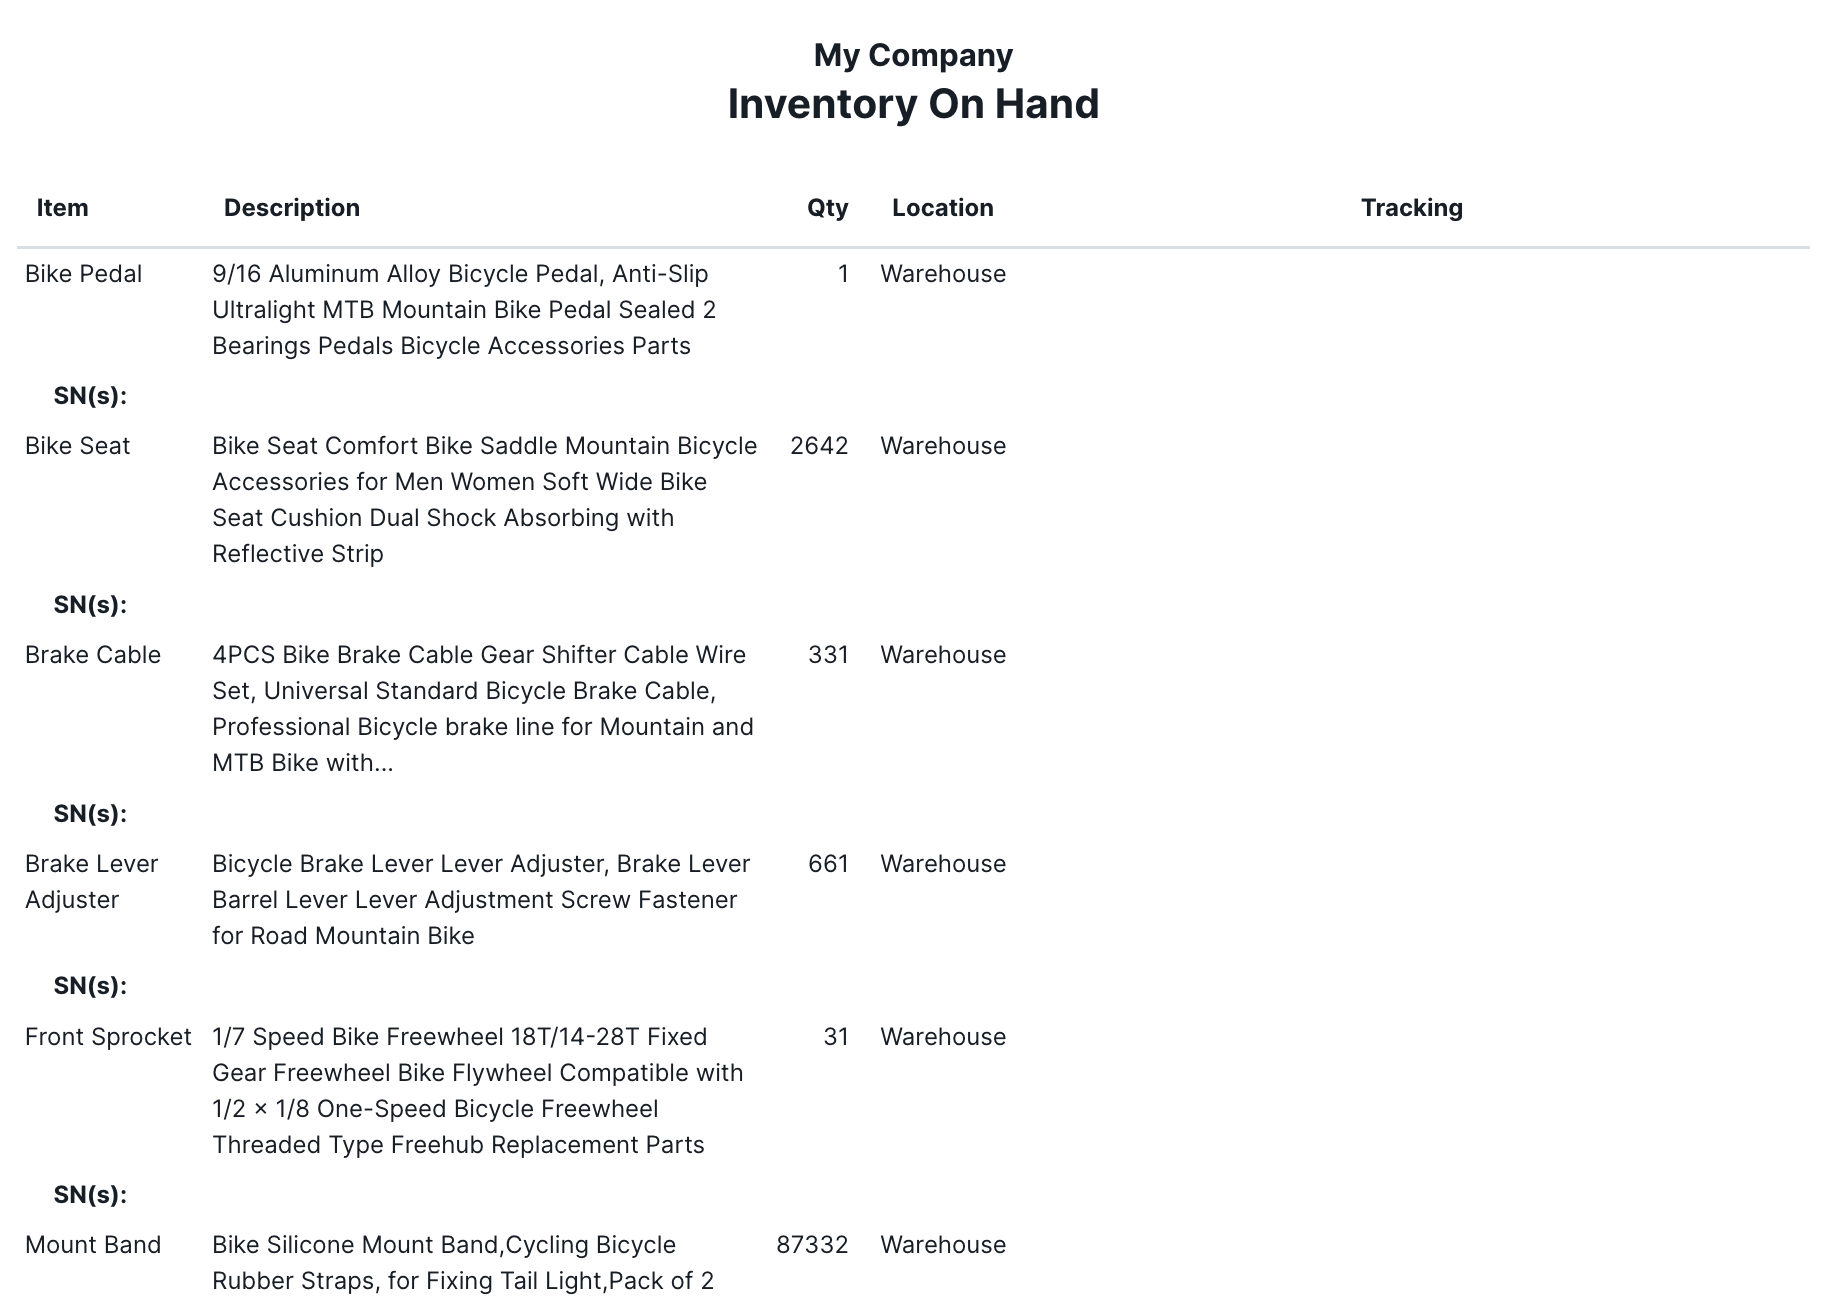
Inventory Valuation Summary Report
This report shows the value of assets in stock.
Item Barcode Label Report
This report displays barcodes for all of the items on a purchase order.
Item Barcode One Off Report
This report generates barcodes for your items on individual pages.
Item Price List Report
This report lists sale items and their prices.
Location Barcode Report
This report generates barcodes for your Parent Locations and Child Locations.
Margin Report
This report displays profit margins by sale item, customer, or tag.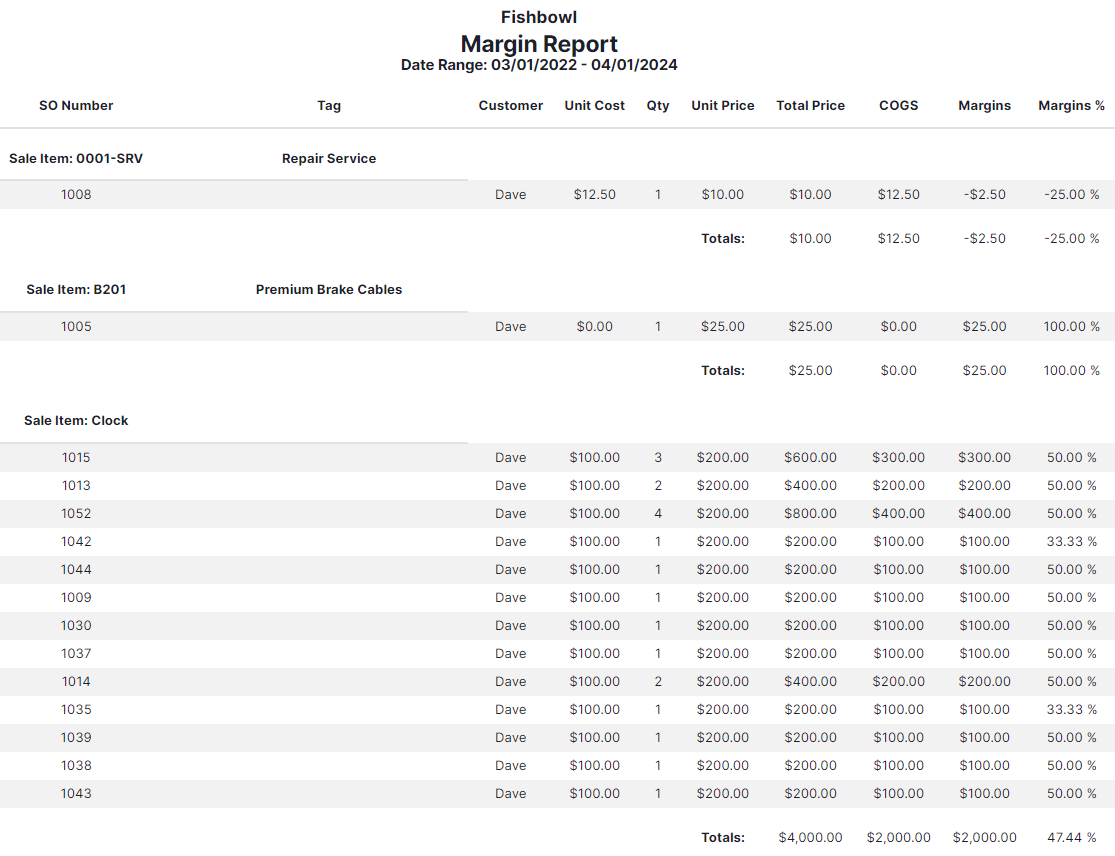
On Hand By Expiration Report
This report lists items by their expiration date.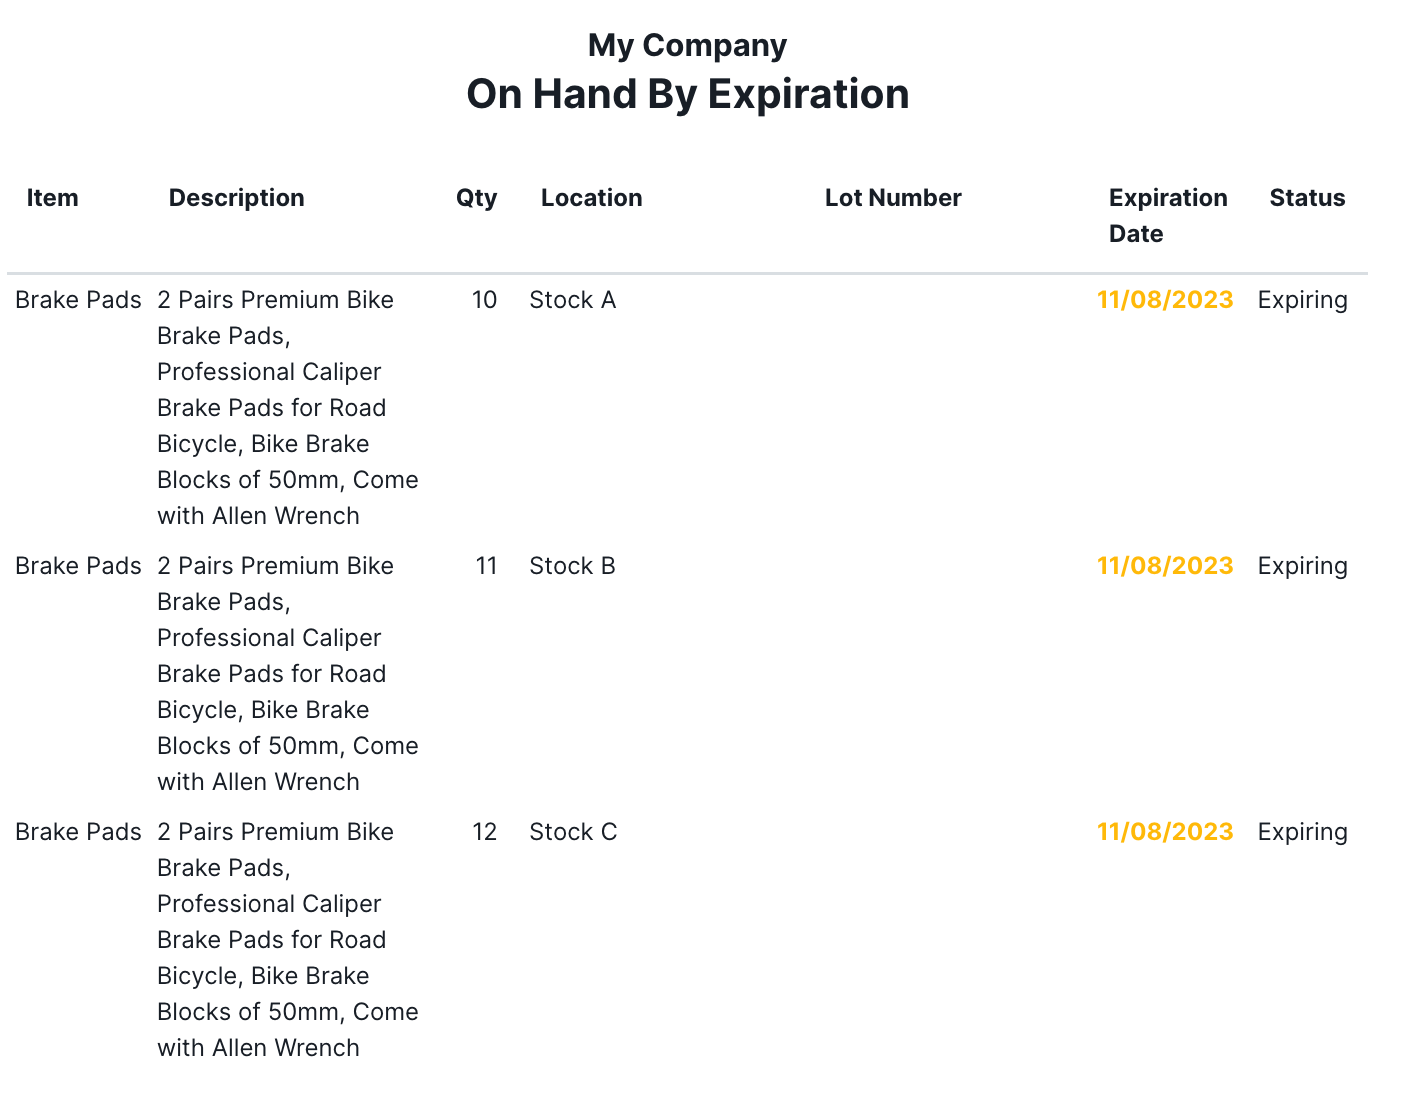
Packing List Report
This report generates a packing list by Ship Number.
Pick Report
This report shows information on a pick based on a sales order number.
Purchase Order Report
This report shows information in a specific purchase order.
Purchase Order Summary Report
This report lists all purchase orders in a date range.
Receiving List Report
This report generates a receiving list by Receipt Number.
Reorder Report
This report generates a list of items that have fallen below their reorder point.
Sales Order Report
This report shows information in a specific sales order.
Sales Order Summary Report
This report lists all sales orders in a date range.
Shipping Invoice Report
This report generates a shipping invoice by Ship Number.
Total Item Sales Report
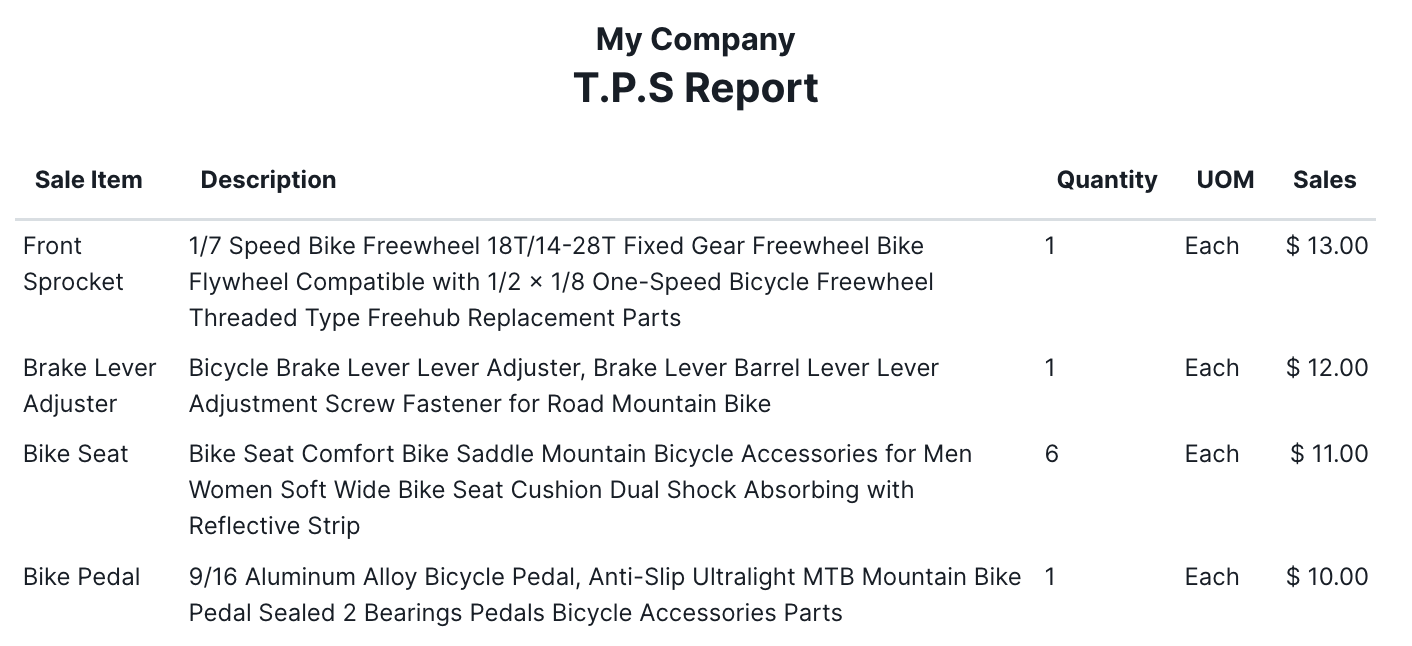
This report lists all of your sales by item and dollar amount.