Getting Started
Fishbowl Drive is now Fishbowl Drive. Fishbowl Drive is designed to make managing your business convenient and intuitive. If you've ever used Fishbowl Advanced, the flow will feel very familiar. Below is a feature comparison of Fishbowl Drive and Fishbowl Advanced. After creating a free Fishbowl Drive account, it's easy to familiarize yourself with Fishbowl Drive by enabling the sandbox environment and exploring the layout of all of the modules.

Feature comparison
Fishbowl Advanced and Fishbowl Drive have similar features. New features are being added to Fishbowl Drive, and it is anticipated that it will eventually have feature parity with Fishbowl Advanced.
| Feature | Fishbowl Advanced | Fishbowl Drive |
|---|---|---|
| Installation | Download | None |
| Hardware and IT requirements | Moderate | Minimal |
| Updates and backups | Schedule | Auto |
| Integrations | 31 | 12 |
| Mobile app | Yes | Yes |
| Access from web browser | ✓ | ✓ |
| QuickBooks Desktop integration | ✓ | |
| QuickBooks Online integration | ✓ | ✓ |
| Xero Accounting integration | ✓ | |
| Internal chart of accounts | ✓ | |
| UOM conversions | ✓ | ✓ |
| Part specific UOM conversions | ✓ | |
| Address validation | ✓ | ✓ |
| Alert notes | ✓ | ✓ |
| Amazon integration | ✓ | ✓ |
| ATF report available | ✓ | |
| Auto commit | ✓ | ✓ |
| Auto generated purchase orders | ✓ | ✓ |
| Auto order numbering | ✓ | ✓ |
| Auto pack shipments | ✓ | ✓ |
| Auto reorder points | ✓ | ✓ |
| Average costing | ✓ | ✓ |
| Barcodes | ✓ | ✓ |
| BigCommerce integration | ✓ | ✓ |
| Bill of materials | ✓ | |
| Calendar | ✓ | |
| Class tracking | ✓ | ✓ |
| Consignment | ✓ | ✓ |
| Create custom reports | ✓ | |
| Credit card processing | ✓ | ✓ |
| Credit returns | ✓ | ✓ |
| CSV import/export | ✓ | ✓ |
| Custom fields | ✓ | ✓ |
| Custom tags | ✓ | ✓ |
| Cycle count | ✓ | ✓ |
| Dashboard | ✓ | ✓ |
| Developer API | ✓ | ✓ |
| Dropship | ✓ | ✓ |
| Duplicate an item | ✓ | ✓ |
| Duplicate an order | ✓ | ✓ |
| E-commerce integrations | ✓ | ✓ |
| ✓ | ✓ | |
| Forecasting | ✓ | ✓ |
| Inventory | ✓ | ✓ |
| Kits | ✓ | ✓ |
| Landed cost | ✓ | ✓ |
| LIFO/FIFO costing | ✓ | ✓ |
| LIFO/FIFO picking | ✓ | ✓ |
| Manufacture orders | ✓ | |
| Multiple currencies | ✓ | |
| Multiple locations | ✓ | ✓ |
| Parts, products, items | ✓ | ✓ |
| Payment terms | ✓ | ✓ |
| Payments | ✓ | ✓ |
| Picking | ✓ | ✓ |
| Point of sale interface | ✓ | |
| Pricing rules | ✓ | ✓ |
| Purchase orders | ✓ | ✓ |
| Receiving | ✓ | ✓ |
| Reconcile | ✓ | ✓ |
| Reports | ✓ | ✓ |
| Reverse lot history report | ✓ | |
| RMA | ✓ | |
| Sales orders | ✓ | ✓ |
| Salesforce integration | ✓ | ✓ |
| Schedule | ✓ | |
| Ship with customer's carrier account | ✓ | ✓ |
| Shipping | ✓ | ✓ |
| Shippo integration | ✓ | ✓ |
| ShipStation integration | ✓ | ✓ |
| Shopify integration | ✓ | ✓ |
| Show markup and margin | ✓ | ✓ |
| SO to PO conversion | ✓ | |
| Standard costing | ✓ | |
| Stripe integration | ✓ | ✓ |
| Tax rates | ✓ | ✓ |
| TaxJar integration | ✓ | ✓ |
| Tracking custom | ✓ | ✓ |
| Tracking expiration dates | ✓ | ✓ |
| Tracking lot numbers | ✓ | ✓ |
| Tracking serial numbers | ✓ | ✓ |
| Transfer orders | ✓ | |
| User permissions | ✓ | ✓ |
| Vendor parts and pricing | ✓ | ✓ |
| View database | ✓ | |
| WooCommerce integration | ✓ | ✓ |
| Work orders | ✓ |
Create account
Follow the instructions below to create an account. NOTE: You will only need to create one account per company. Additional users can then be added to the same company in the Users module.
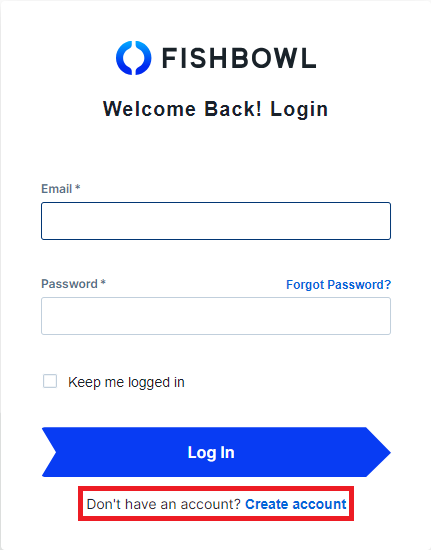
- Visit fishbowlonline.com and click the Create account link near the bottom.
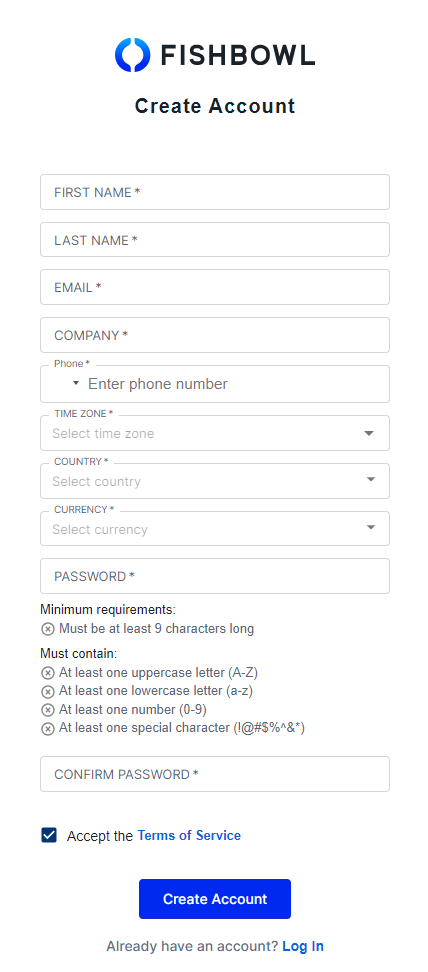
- Enter your name, email, password, etc., and then click the Create Account button.
- Enter your username and password again, and then click the LOG IN button.


Sandbox environment
Sometimes the best way to learn is to explore and try things out, so Fishbowl Drive makes it easy to play around in a sandbox test environment at any time without affecting your production data.
- To get started, log in and click the profile icon near the top-right corner. Then move the View sandbox environment slider.

- Next, click the Sandbox Data section near the bottom-left corner. You can then choose to Populate with sample data to see an example database, or if you've already added your own data, you can click Populate with my account data to test using a copy of your own data.

- Any changes made in the sandbox environment will not affect your production data. When you're ready to return to your live data, simply move the slider shown in the first step to exit the sandbox environment. Later, if you want to test how something works, just turn the Sandbox Environment back on again.


Layout
Below is the general layout found in most sections of Fishbowl Drive.
- Side nav - The side navigation drawer displays all of the groups and modules of Fishbowl Drive. Click any group to expand it or collapse it. The entire drawer can also be expanded or collapsed by clicking the
 Expand button near the bottom.
- Search list - Use the search field to filter the list of items in the module. Click any item to open it. For more information about wildcard and advanced searches, see the Search section below.
- Action bar - A list of actions to be performed on the open item. Click the
 More button to see additional actions.
- Tabs - Each tab displays different details for the open item.
- Item list - This is where items are added, deleted, sorted, etc. Click the More button to see additional actions for each order item.
- Flow bar - Allows quick navigation to move an order toward fulfillment.


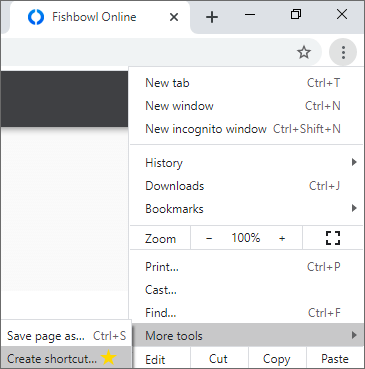
- Many users may wish to make Fishbowl Drive display in its own application window as shown in the image above. To do this in Chrome, click the More button in the top-right corner of the browser, select More Tools, and then click Create Shortcut.
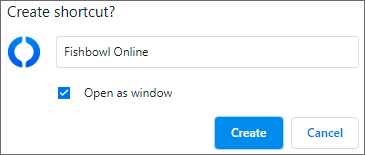
Verify that Open as window is selected, and then click Create. On your desktop there will now be a Fishbowl Drive icon that opens like a traditional desktop application.


Search
- All of the search fields in Fishbowl Drive will filter the table using data from any of the columns. For example, you could search for a partial location name, a sales rep, a vendor, etc.


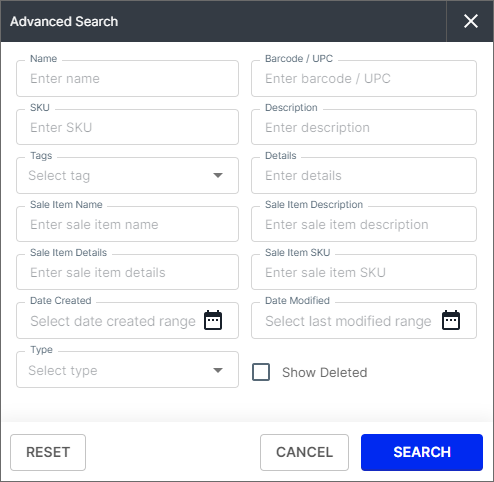
- For more search options, click Advanced on the right-side of the search field. This allows more specific searching including item descriptions, date ranges, etc.

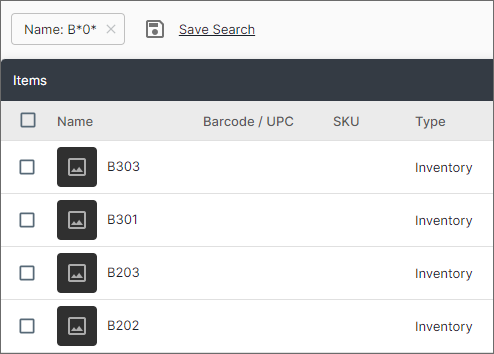
- The advanced search also supports a wildcard search using the * character. For example, searching for B*0* would return B201, B303, etc.

Modules
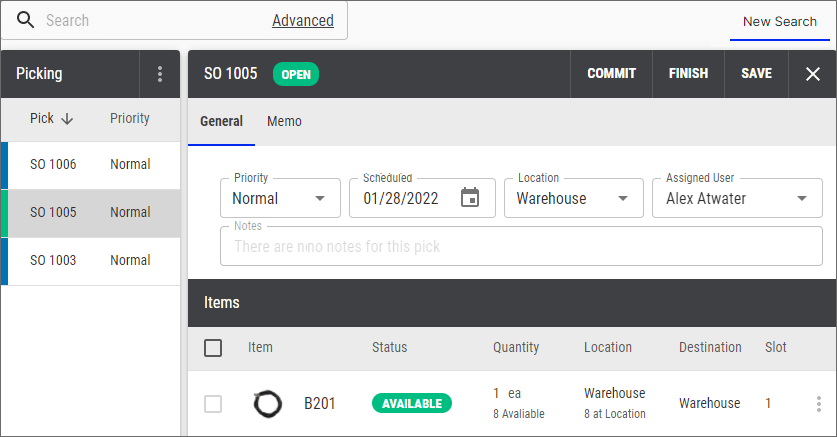
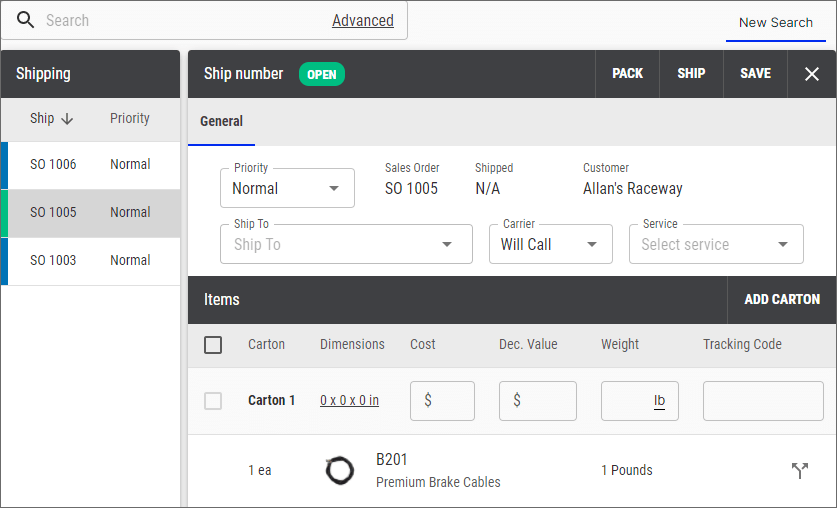
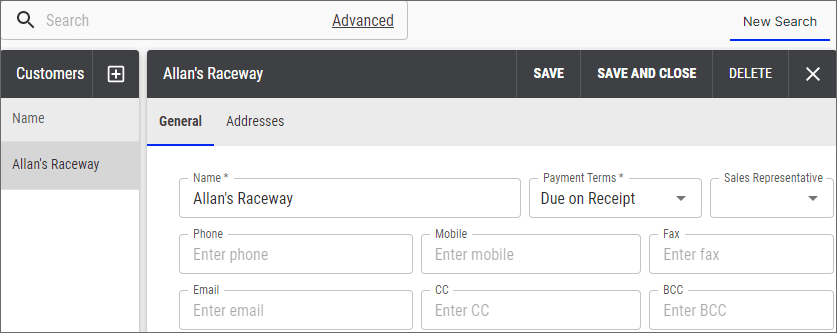
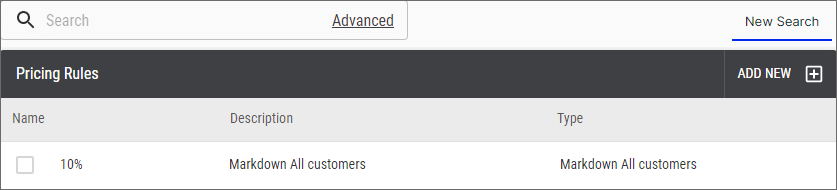
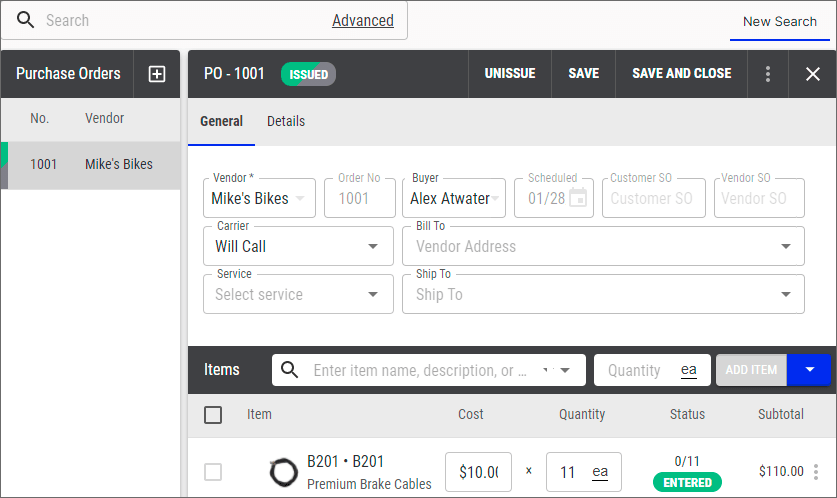
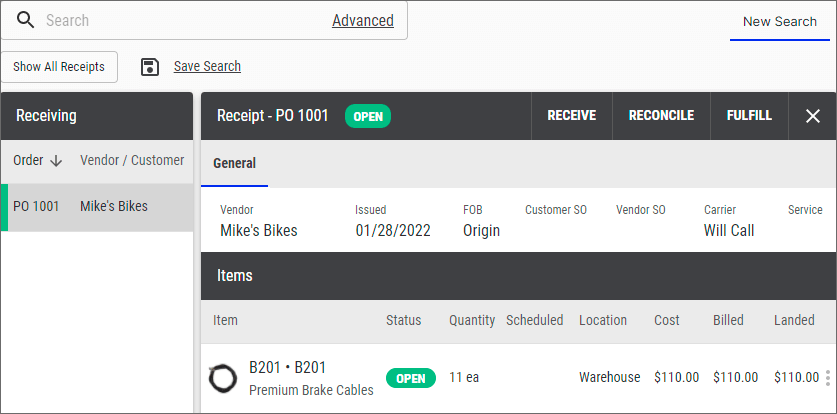
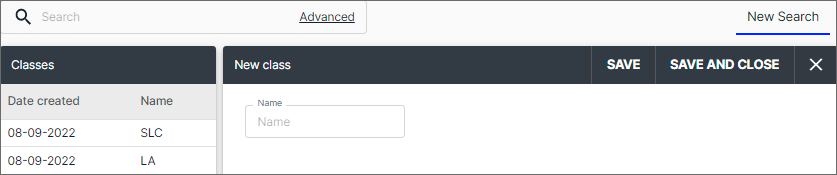
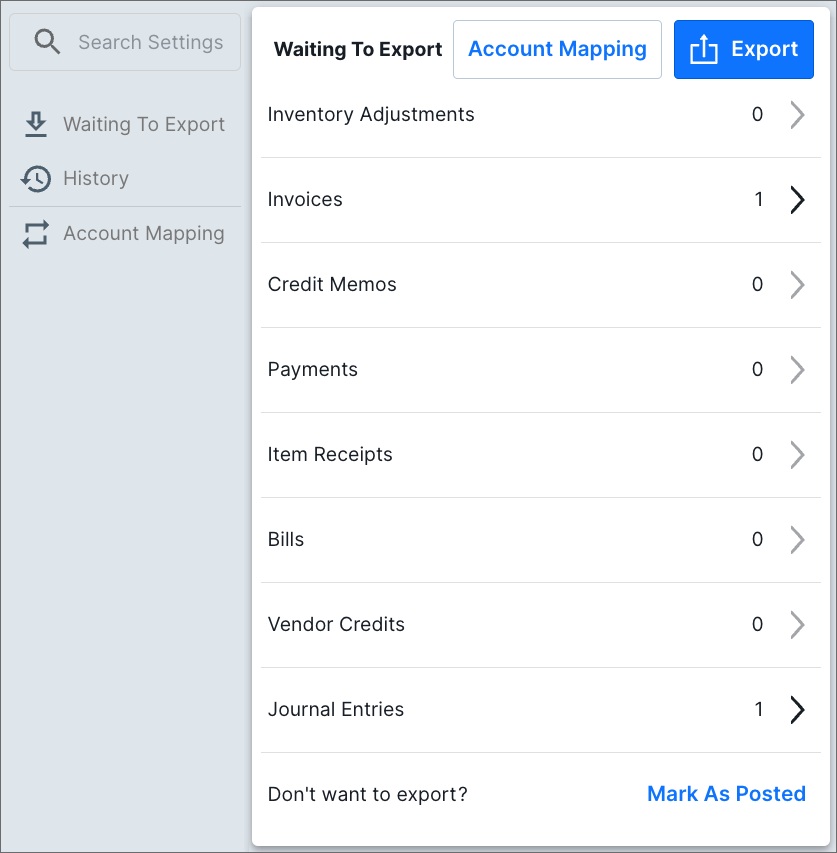
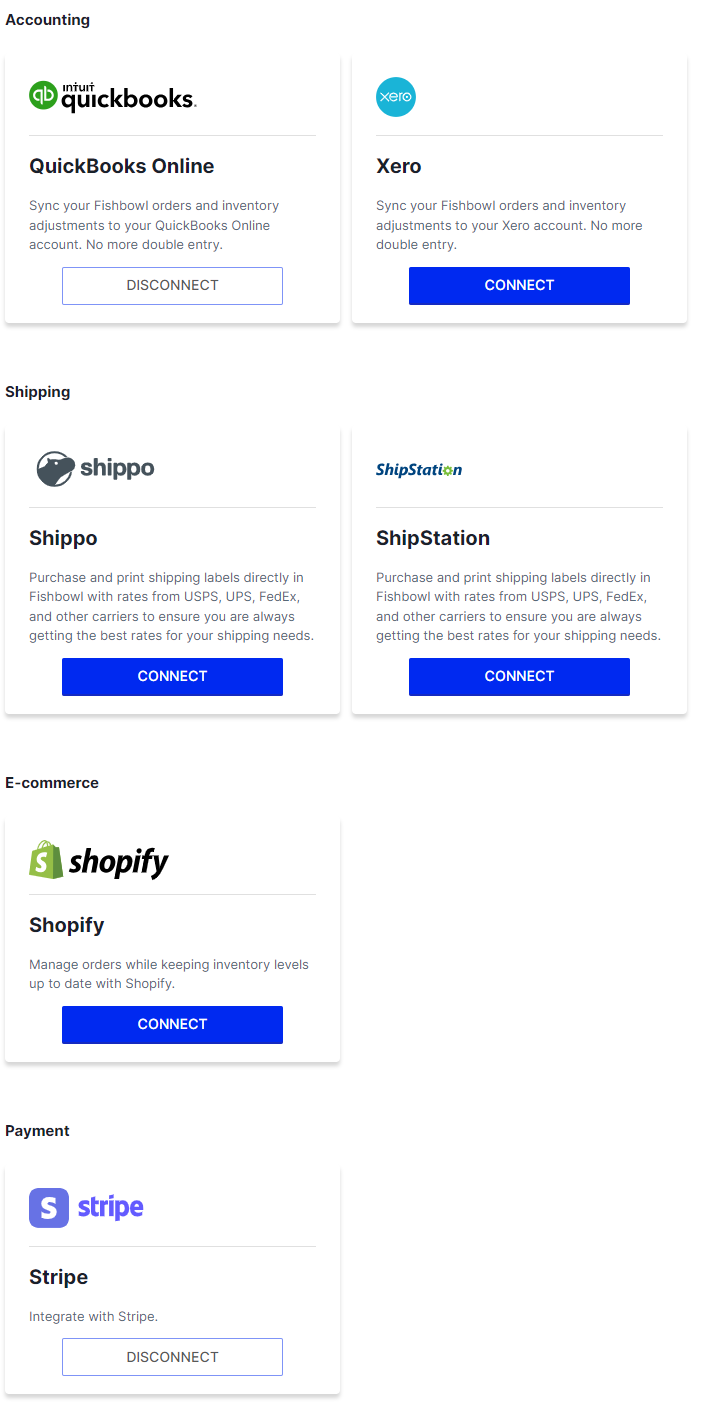
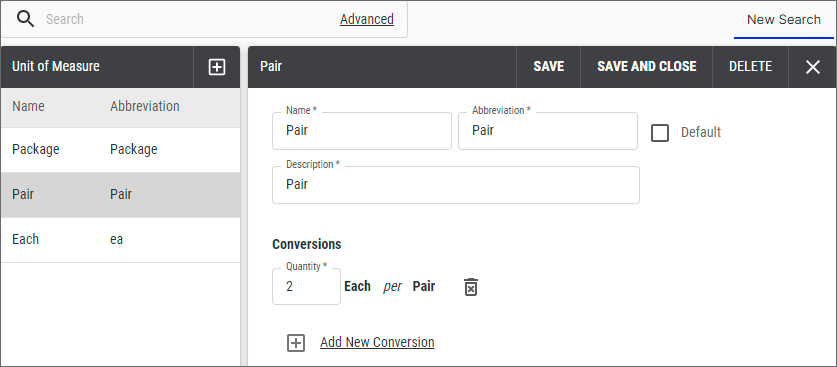
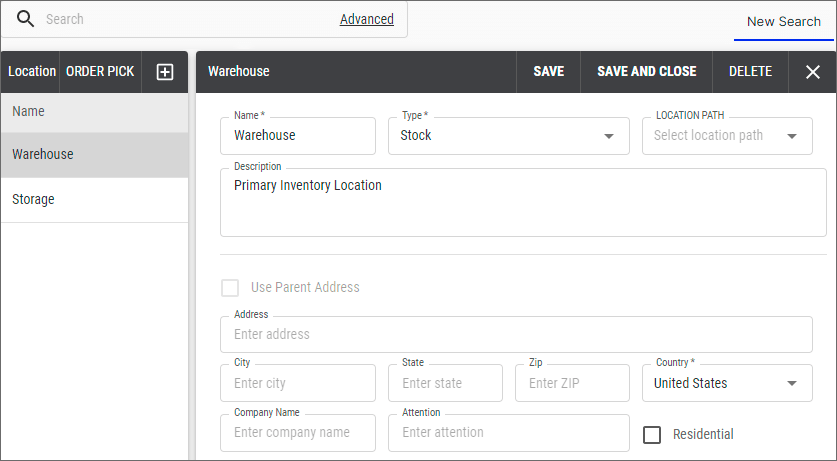
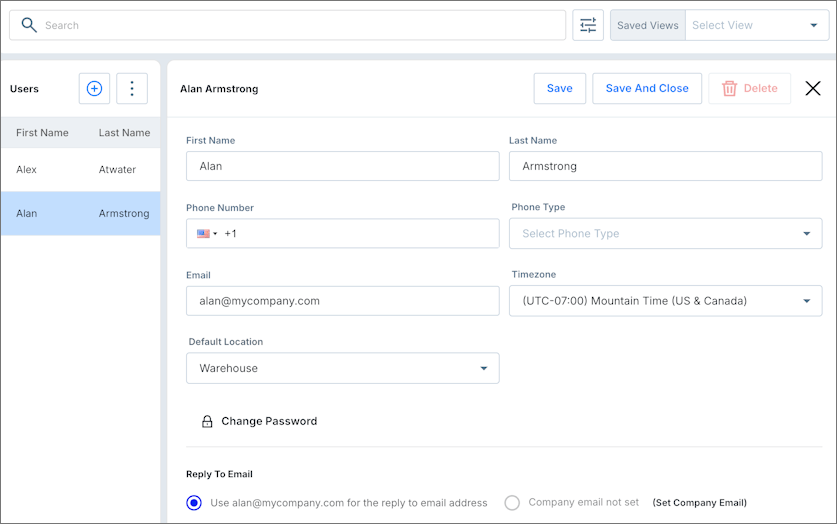
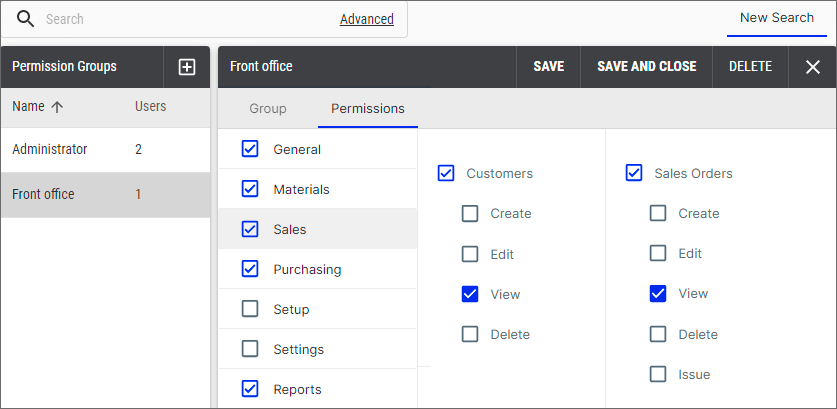
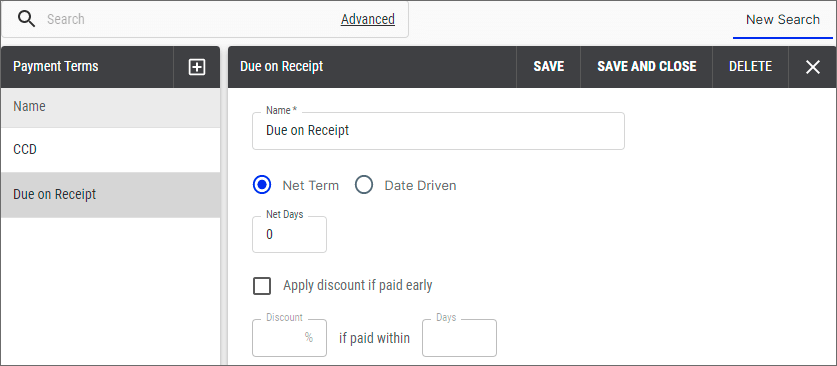
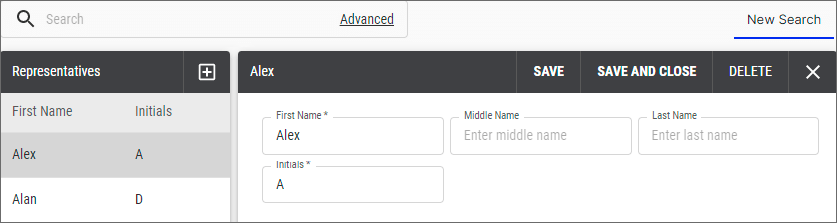
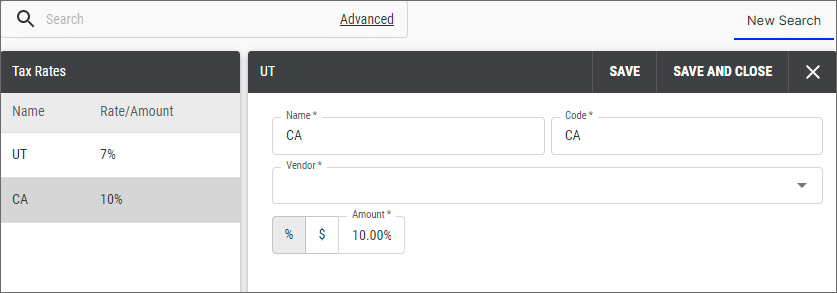
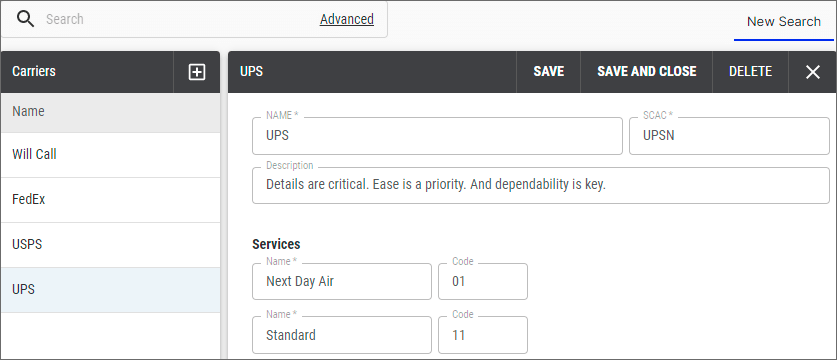
Below is a screenshot of each of the modules in Fishbowl Drive. Click any video or screenshot for more information.





Mobile app
Fishbowl Drive mobile supports the essential features of Drive, right from your Android or iOS device.
Install
- Click here for iOS or here for Android or search for Fishbowl Drive in your app store.
- Click Install, and then click Open.
- Enter the same credentials you use for fishbowlonline.com, and then click Log in.
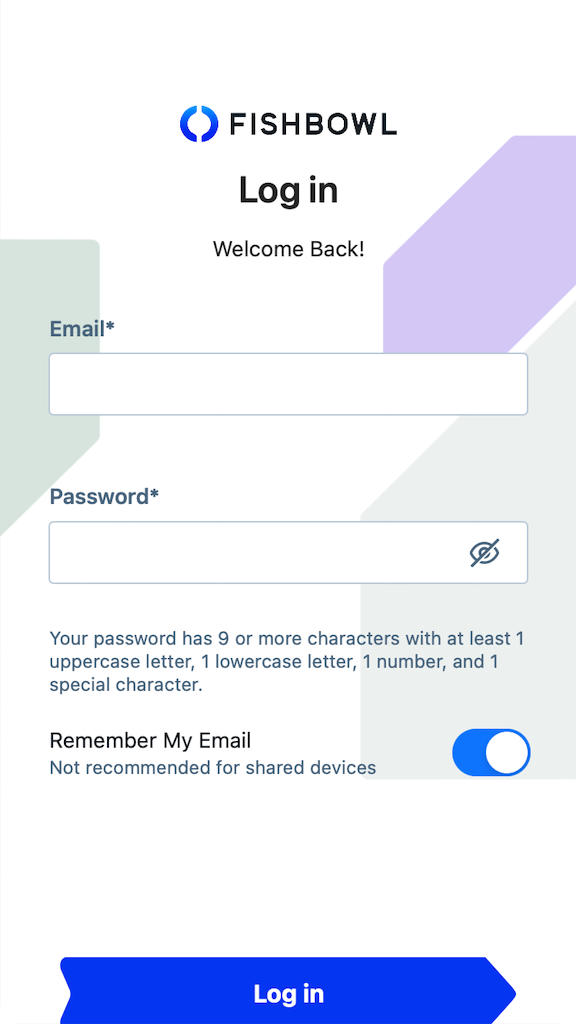
- The mobile app provides access to some of the same great features that are available on fishbowlonline.com.


Items
The Items module displays every item that you have created in Fishbowl Drive. To open an item, click it from the list, click the scan icon on the bottom right to scan its barcode, or enter text in the Search bar and select the option that appears under it.

Item Details
The Item Details screen displays information about the item you selected in the Items module. It shows the item's type and cost above its name and description. It also shows the item's dimensions, weight, and unit of measure. Any tags you have added to it are displayed at the bottom.

Inventory Summary
In the Inventory module, there are two screens you can look at when you click an item. Summary is the default. This screen displays how many units of the item are available, on hand, allocated, committed, and incoming across all of your locations. It also shows the average cost and total cost of the units. Three buttons at the bottom of the screen enable you to adjust quantities up or down, move units between locations, and cycle count the item.

Scanner
When you click the scan icon, it makes use of your mobile device's camera to scan an item's barcode, which then brings up details about that item.

Inventory Locations
In the Inventory module, when you click the Locations tab on the top-right, it brings up a list of all locations where an item is stored. It displays the number of units that are on hand, available, and committed at each location. Three buttons at the bottom of the screen enable you to adjust quantities up or down, move units between locations, and cycle count the item.

Inventory Adjust
When you click the Adjust button at the bottom of the Inventory module, it gives you the option to either add or scrap units of the item.

Inventory Add
Clicking the Add option under the Adjust button brings up a screen to select the location, quantity, and cost of the units you want to add to your inventory. You can also add notes at the bottom to explain why you're adding units or provide other information.

Inventory Scrap
Clicking the Scrap option under the Adjust button brings up a screen to scrap inventory. First, select a location. This will show you how much inventory you have on hand and committed, and how many units are able to be scrapped. Second, enter the quantity to be scrapped. Third, you may enter any notes to explain why the units are being scrapped.

Inventory Move
When you click the Move button at the bottom of the Inventory module, it gives you the option to send units of an item from one location to another. First, select the location that units will be moved from. This will show you how much inventory you have on hand and committed, and how many units are able to be moved. Second, enter the quantity to be moved. Third, select the location that units will be moved to.

Inventory Cycle
When you click the Cycle button at the bottom of the Inventory module, it gives you the option to modify the number of units on hand at a specific location. First, select a location. This will show you how much inventory is on hand and committed at that location. Second, enter the new on-hand quantity you want to change it to. Third, you may enter any notes to explain why the units are being modified to a new quantity.

Menu
The menu on the left can be brought up by swiping left to right. This gives you the option to go to the various modules in the app, as well as go to Fishbowl's documentation site for help with questions.

Settings
Clicking Settings from the menu enables you to see general settings, enable or disable sample data in the app, and find more information about the app.

Sample Data
Fishbowl Drive Mobile comes prepopulated with sample data to give you an impression of how it works before you begin using it with your own live data. To turn this feature off, click Sample Data from the menu, and click the toggle to the right of Enable Sample Data so that it is no longer in the on position. Then you will be able to see live company data from your Fishbowl Drive account.

System Requirements
The mobile app for Fishbowl Drive requires one of the following operating systems:
- iOS 17.0 or higher
- Android 9.0 or higher
Release Notes
- To read the release notes for the Android version of Fishbowl Drive Mobile, visit Fishbowl Drive Mobile in the Google Play Store and scroll down to What's New.
- To read the release notes for the iOS version of Fishbowl Drive Mobile, visit Fishbowl Drive Mobile on the App Store, scroll down to What's New and then click Version History on the right side.

Now that you've learned a little more about Fishbowl Drive, try it for yourself at fishbowlonline.com. You can also check out some of our Training Videos and our Release Notes